Monday, February 22, 2021

Game Production - Character Bust #6


I went into Unreal with an idea of what kind of lighting I wanted so I was able to quickly set it up with some post processing overlayed on top. In addition to my lighting, I wanted to add something extra to my model to make it stand out a bit more so I created an outline shader. This was made with a post processing material, adding lines to the main silhouette of the character and some smaller subtle lines on some edges through depiction by the normal map. 

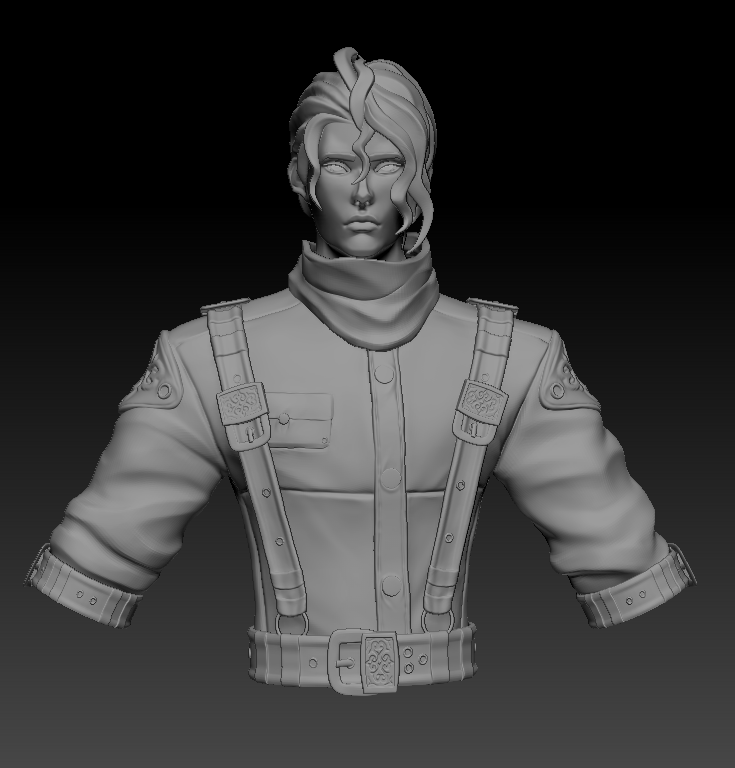
After completing all those technical parts, it was safe to call this model finished. I’m fairly happy with what the final project looks like, I feel like I captured the style I was aiming for quite well and it looks polished. Learning certain techniques like using ZModeller in ZBrush and utilising masks in Substance Painter were definitely beneficial to my workflow and are things that I’ll be using an indefinite amount of times in future. Some areas could stand to be improved like getting a cleaner bake in some areas and managing my time when it comes to tackling projects like this. I know now where I need to dedicate larger amounts of time to within my workflow and when I need to pull away from certain parts to move on to the next. I’m sure with further practice my methods will become more refined so it’s just a case of continuing making models whilst keeping in mind what past actions could be improved. 

Overall though this was a smooth project with no huge hinderances. The model came out to my liking so I’m satisfied with that!


Game Production - Character Bust #5


My textures were pretty far along with the only remaining large portion being the gold. All the gold objects were done at the same time for the sake of uniformity and I was keen to ensure that the gold read well on the clothing and didn’t look too garish. The vast majority of the model has its roughness set to 1 so with the gold I got to play around with what level of roughness would suit gold on clothing. The metallic was immediately set to 1 do it was truly up to the roughness to determine the material outcome. I ended up going for a more cloudy kind of gold, setting the roughness to about 0.4, which I felt matched the stylization I was aiming for best.


After some minor touches, I finished the textures and went back into 3DS Max to give my bust a simple rig for posing. Since the model doesn’t have a full body, the posing wouldn’t be extreme so I kept the rigging and skinning simple in kind. There were no real challenges with rigging and I was able to quickly finish before posing him subtly to import into Unreal Engine 4.


Game Production - Character Bust #4


To start texturing my character, I baked my high poly mesh onto my low poly and laid down flat base colours in Substance Painter. To get the stylized look I was hoping for, I gradually placed gradients over my base colour to get enough colour differentiation on parts like the skin and clothes before going in to add shadows. With this model using PBR materials, I didn’t need to go so deep with the shadows like I would if I were making a handpainted/diffuse-only model so I the main shadows were just extensions of the AO map. I used my AO map as a guide for where the shadows should go and only deepened the colour marginally.

To try to make the best use of Substance Painter, I used masks to create the gradients that I painted over to create my colour variations. The masks allowed me to effectively change all gradient aspects like the size, the blur between each colour, contrast, etc, without needing to be fixated on whether the colour was covering the correct portion of the model and small things like that.

I manually painted details on top of large areas and manually painted things like the eyes and hair streak(aspects that I wanted in a specific way). The beginning texturing process was quite smooth though and I feel as though I’m able to create a style that is close to my reference but with my own additional flare to it.


Game Production - Character Bust #3


My retopology workflow may not have necessarily been the fastest however it was the most efficient means of working for me. I retopo’d my model in 3D Coat mainly because I understand the methods of retopology better there as opposed to say 3DS Max. However this does mean I’m adding another piece of software into my workflow which means I have to go from ZBrush to 3D Coat to Max instead of just ZBrush to Max. Longer method but better results.

I tackled the face topology first and foremost, looking up reference for facial loops before starting. I remember from my first year character project that the face loops needed to be in a particular fashion for the sake of deformation when animating. With some further research I found that the loops are meant to emulate the flow of muscles on an actual human face so that when they deform in animations it looks more natural.

I was cautious during the retopology process to keep the tri count in mind, I had to decided what I would give geometry and what I would leave to the baked maps. I unwrapped the retopo’d mesh swiftly after, dividing the UVs onto two 1024 maps, before creating an OBJ to take to Substance Painter.

Game Production - Character Bust #2

 When it came to sculpting my character, I went through a slow starting process but eventually sped up towards the end. I began with the head because I knew that would take the longest out of all the features. I think this took quite some time mainly due to me constantly checking if it looked proportionate. Naturally I wanted the face to be stylized but no amount of stylization can hide a disproportionate face so I spent a lot of time going back and forth, stopping and starting and getting second opinions on the direction I was going with my head. Having plenty of reference definitely helped.


Other aspects like the scarf, hair and jacket didn’t take as long as they were fairly simple shapes in comparison to the head. A challenging aspect though were the belts and suspenders. I tried to keep my sculpt as clean as possible and I found the best method of keeping shapes like belts clean was to use the ZModeller brush in ZBrush. Admittedly I’d never used ZModeller before so trying to navigate that and get it to do what I want was a bit of a hurdle. But once getting used to it I understood how useful it was and can definitely see myself using it frequently in future projects.


Overall sculpting wasn’t too difficult of a process but it was a long one, though I probably spent longer than I should’ve on my bust. I did learn quite a bit though and made changes to the model going against my initial concept but I feel like the bust has a better finish to it this way as opposed to what could’ve been if I stuck strictly to the concept.

Game Production - Character Bust #1


To start off my character project, I did some initial research to establish a style that I wanted to emulate when creating my bust. In my mind I knew I wanted to create a character that looked a bit fantasy-esque but could still be envisioned as a bounty hunter. I thought a more stylized approach would suit this type of design better as I could have a bit more flexibility down the line when it came to approaching texturing and how I could get each different material type to seem more uniform.

From my research I settled on aiming for a style similar to the game Valorant mainly because it’s a style that I personally really like, especially with models used for promotional cinematics. The kind of matte painted textures makes for such interesting stylized PBR that I want to try my hand at the method. Valorant in game models are less ‘painterly’ in their textures but style carry big, chunky shapes in their shadows which I quite like so a potential blend between the two styles is what I’m aiming for.


To save some time on major concepting I had an old character design that I altered marginally to create my concept art for this project- depending on the modelling process some aspects may change if they don’t read as well in 3D. The character though will really only have 2 material types apart from skin and hair, those being overalls like material (like tough cotton) and gold. Limiting the varying materials on the model will probably save me time since I won’t be fixated on researching masses on what certain materials look like then having to replicate it in a stylized manner. Simple is always best and I’d already put (most likely) too many minor details on the concept so speeding up the future process of making those details as much as possible is always preferable.  


Traditional Art - Aircraft Study #12

  My aircraft thumbnail sketches were created with the aim to sort out composition. The aircraft I’d chosen to draw was quite small in size ...